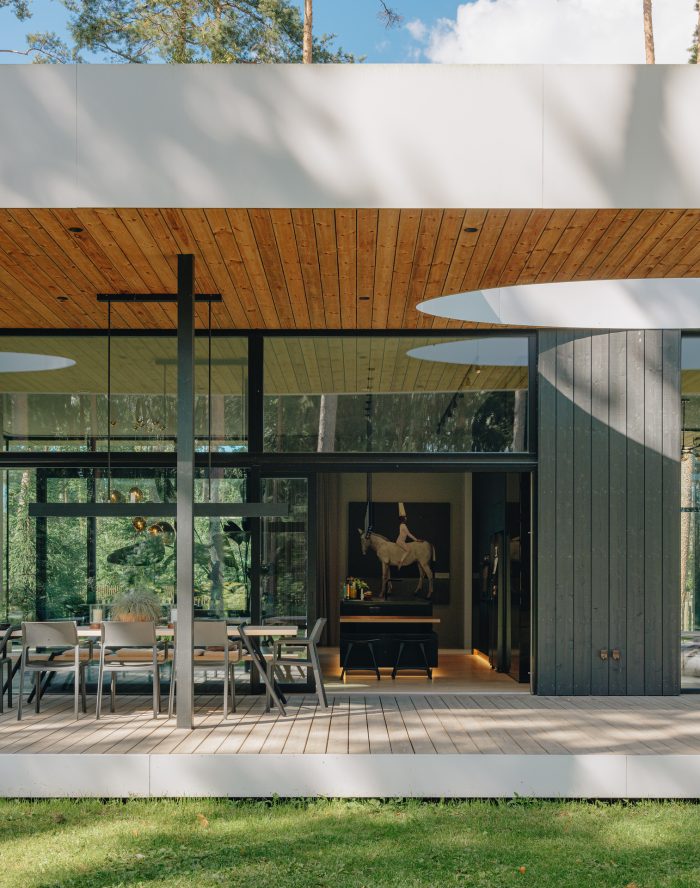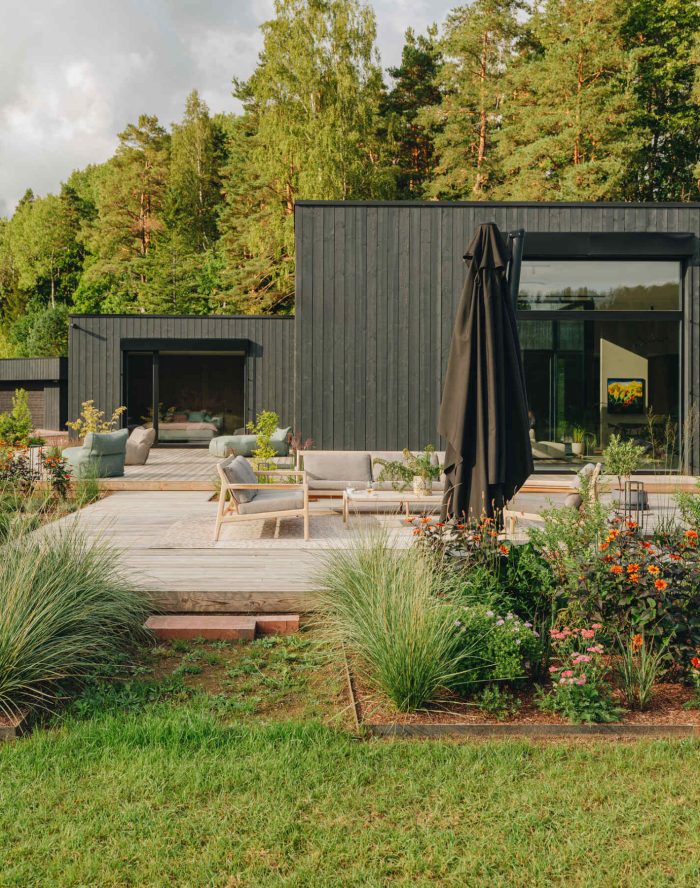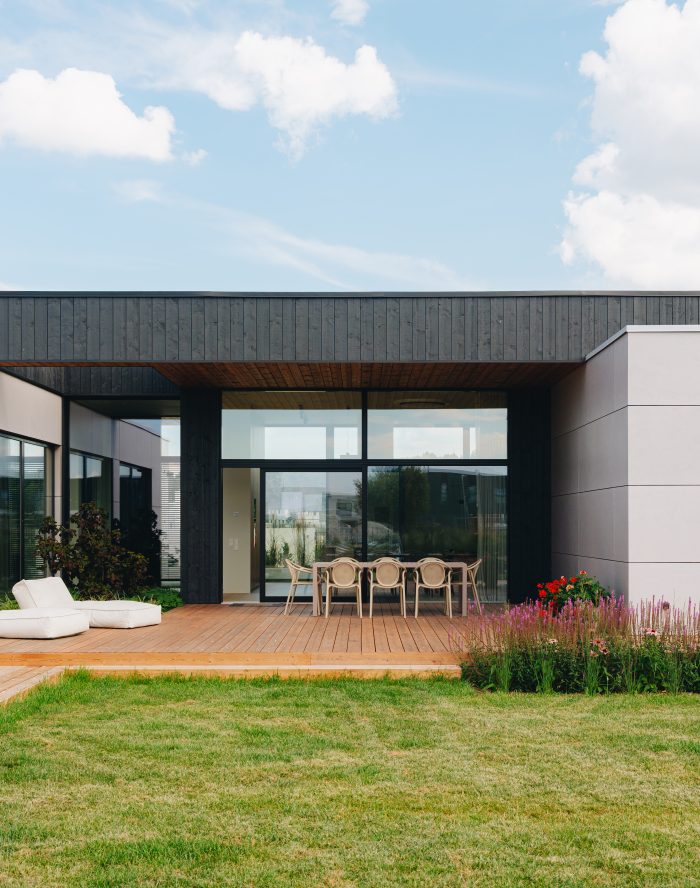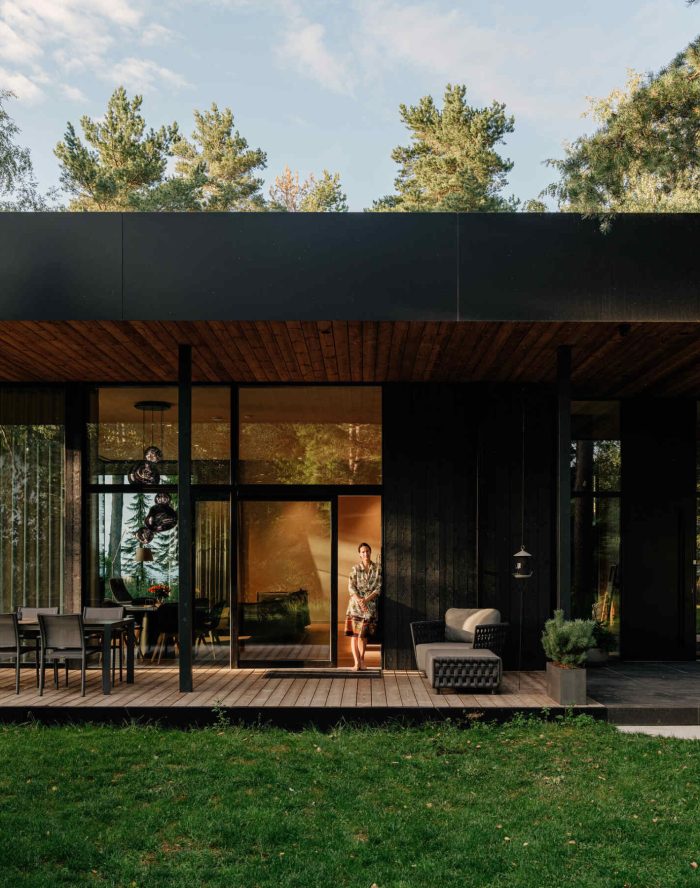

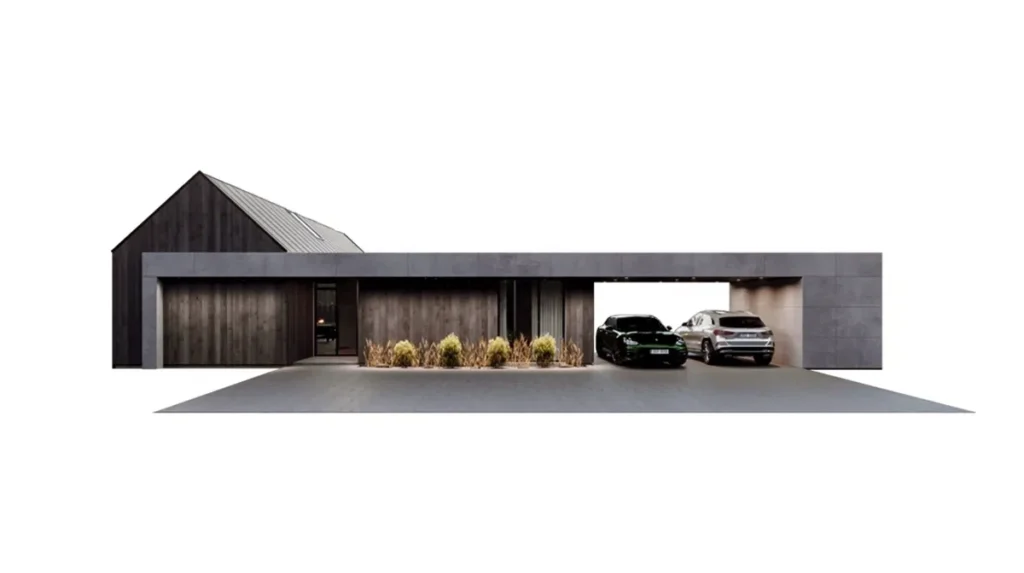
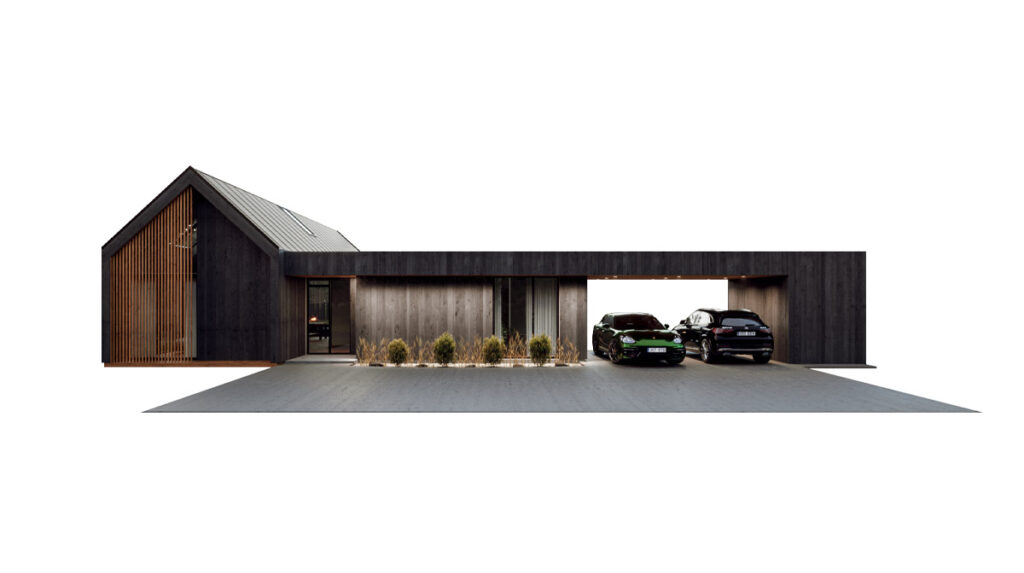


Building a house from scratch feels to most families like a large project with no obvious first move. The plot is there, a folder of dream houses is saved on Pinterest and the bank has quoted a preliminary loan amount, but the next step stays vague. There is a right order, and it starts with the plot, not with the house.
Below are the seven steps to a new detached house, and what we handle at each.
Step 1: gather the plot documents
Paperwork comes first, because it decides what may be built on the plot at all. Collect the following.
- The detailed plan or, where there is none, the municipality’s design conditions: the building area, the permitted footprint, the number of storeys, the height and often the roof pitch and facade.
- An extract from the building register at ehr.ee: existing buildings, valid permits and recorded restrictions.
- Restrictions: protection zones, utility routes, easements and the coastal building exclusion zone, which can be checked on the Land Board geoportal.
- Utilities: the distance to electricity, water, sewage and telecoms, and the network operators’ technical conditions for connecting.
- A geodetic base plan and soil data, or the knowledge that a geotechnical survey will have to be ordered.
If the plot already carries a building, its register entry has to be cleared first, so read the rules for taking down an old building on your plot before you plan the schedule.
Our process starts exactly here: the architect reviews the plot documents and tells you which house and size fit.
Step 2: set the budget frame and the financing
A real budget for building a house from scratch has many lines: the plot and its preparation, surveys and design, state fees, network connections, foundation and house, outdoor works, finishing and furnishings, and a reserve for surprises. Beginners budget only the house.
Two of those lines we can put indicative figures on. Decent interior finishing starts from 400 €/m² + VAT, lower per square metre on larger houses, and the electrical work inside the house from 26 000 € + VAT.
We send a model-based sample price list on request, with an explanation of what the price includes; a more precise offer follows a consultation. What a builder’s price covers and what stays outside it is set out in our article on the turnkey house price.
Set the frame before choosing a model, so the architect can propose a size and solution that fits it. For a loan decision the bank usually wants a contract with a fixed scope and a schedule, which a turnkey offer provides.
Step 3: define the family’s needs, not the square metres
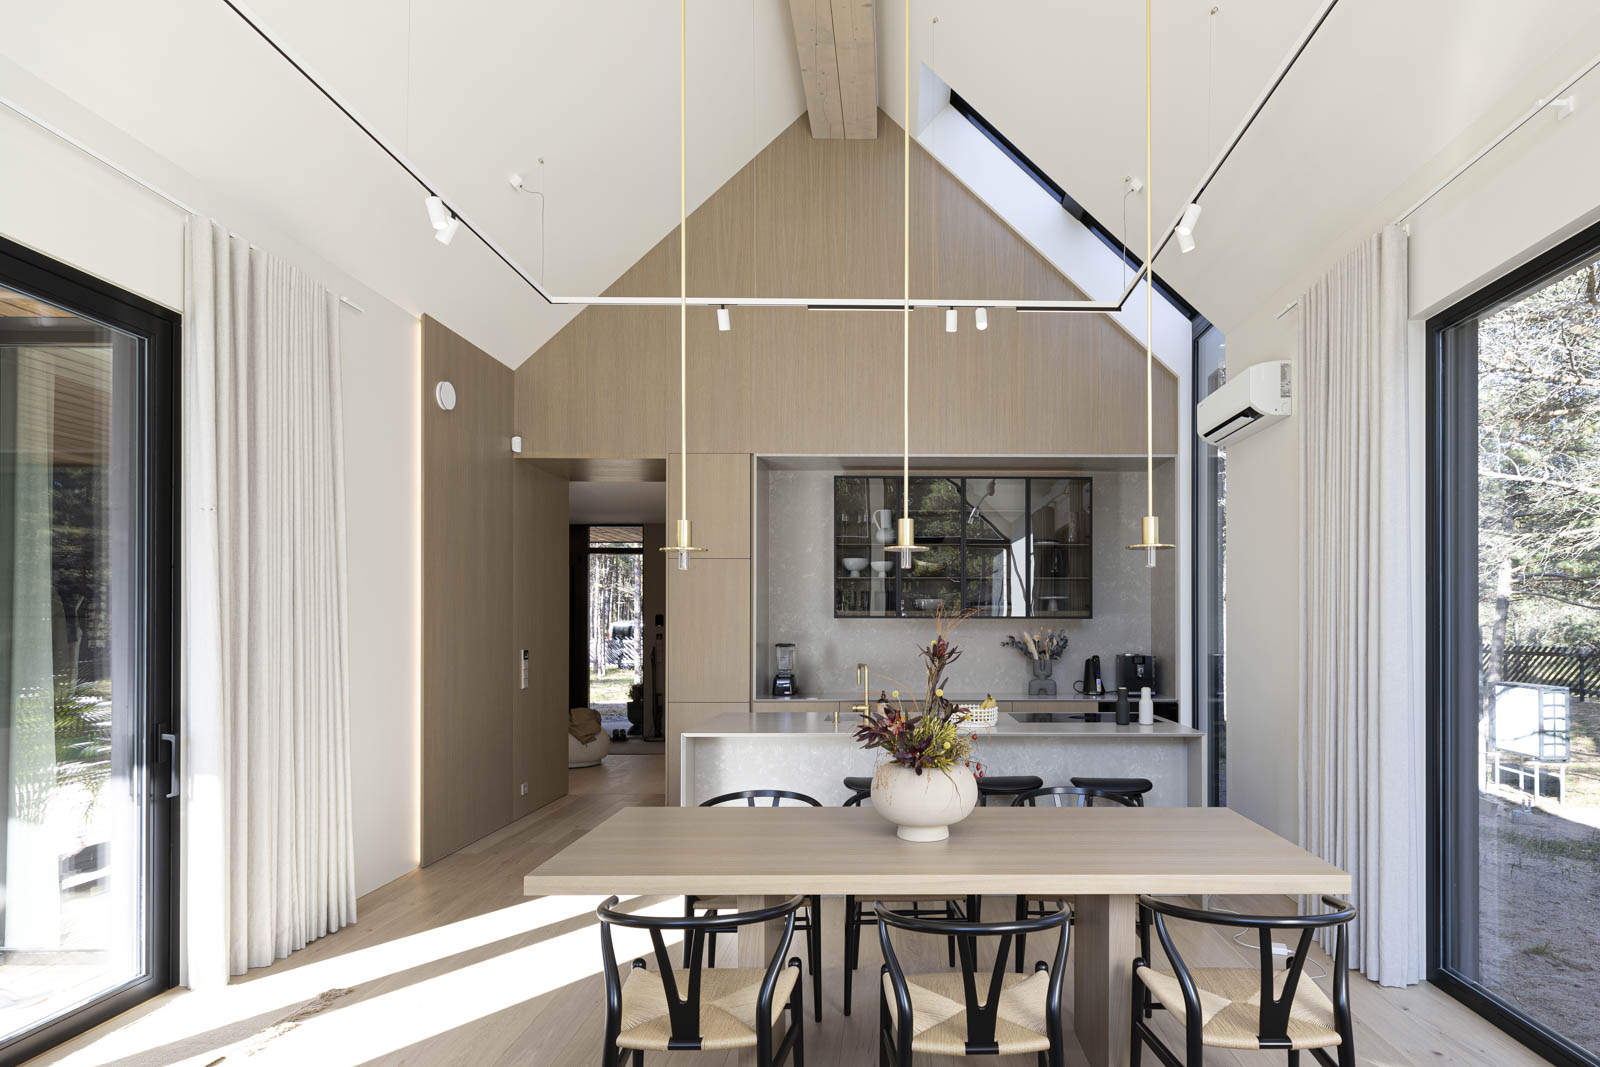
This is the step families usually start with: which house. Start from daily life rather than square metres or pictures. How many bedrooms are really needed, is the home office permanent, do grandparents visit for weeks, does the sauna have to be inside, how much storage is needed.
That list becomes a room programme, far more useful to the architect than a target number of square metres. A well-planned smaller house is often more comfortable and cheaper than a large one with empty rooms. Our models can be adjusted in both size and layout on the houses page.
Step 4: choose the construction method and the builder
The main choices are a masonry house, a timber frame house and a solid-timber CLT house, compared in our article on masonry or timber house. A factory-built house gives a short build time and a predictable price; building on site gives flexibility in stages.
The decision has a second half: who you sign with first, and there is a real difference between hiring an architect first or going straight to a house manufacturer.
When choosing a builder, check five things: its own architect or not, the guarantee on structures and work, whether the permit documents are part of the service, whether CAR insurance covers the site, and whether finished houses can be visited. Our answers are on the construction info page and the houses on the completed projects page.
Step 5: design and building permit
Once the model and the builder are chosen, the design is prepared and the permit applied for. The design takes one to three months on average and the permit two to three months in practice; a new detached house practically always needs one, while the building notice concerns outbuildings. The types of consent and the steps are covered in our article on the building permit in Estonia.
Our architect prepares the design and applies for the permit; the client signs as the owner and pays the state fee. File the connection applications with the network operators at the same time, because a connection point takes time and cannot be hurried by the build.
Step 6: contract, schedule and construction
The contract must state the price and its scope, the schedule, the payment terms, the guarantees, the insurance and who prepares the occupancy permit documents. A fixed scope is also the bank’s basis for paying out the loan in stages.
Construction starts after the permit is issued and takes about 22 weeks: foundation, shell erection in about a week, closing the envelope, services, interior finishing and handover; finishing choices can extend it. The heating decision lands here too — air-to-water heat pump, ground source or solar panels, with cooling if you want it. All the stages, and what the client decides in each, are in our article on house construction stages.
Step 7: occupancy permit and moving in
A house built under a building permit needs an occupancy permit on completion, filed in the building register with the construction documentation, as-built drawings and the energy label. Our project manager assembles these, because the site log and the certificates were prepared during the build. It matters to the bank and the insurer too: without it the house is not officially complete.
The energy label shows the energy class; what it means and how it affects heating bills is explained in our article on the energy class A house.
Four mistakes to avoid when building a house from scratch
- The house is chosen before the plot is checked, and later it turns out the plan does not allow it.
- The geotechnical survey is skipped and the foundation has to be redesigned mid-build.
- Connection applications are filed late and the finished house waits for electricity.
- Offers are compared by the price per square metre instead of by scope, and the cheapest turns out the most expensive once the extra lines are added. Why that figure misleads is explained in our article on the CLT house price.
How to start with Happy Home
Send us the plot documents and a short description of your family’s needs, and the architect will tell you which model and size suit the plot; we can also show you a house under construction. Write to us through the contact page — building a house from scratch starts with your plot, not with a catalogue.
Where do I start building a house from scratch when I already own a plot?
With the plot documents: the detailed plan or design conditions, the building register extract and the restrictions tell you how large a house, and which kind, may be built there. Only then is it worth choosing a model, a builder and a budget.
How long does building a house from scratch take?
The design takes one to three months on average and the building permit two to three months in practice, after which the house is built in about 22 weeks. Interior finishing choices can extend that.
Should I choose the house before checking the plot?
No. The plan may limit the footprint, height, number of storeys or roof pitch, and a house chosen before knowing them may turn out impossible. Our architect reviews the plot documents before we talk about a model.
What does Happy Home do for a first-time builder?
The architect reviews the plot documents, helps choose a suitable model and size, prepares the building design and applies for the building permit. The project manager takes the build to the occupancy permit. The client covers the plot costs, the utility connections and the finishing materials.